Wants to Know ‘how to make T-shirts with Cricut Machine‘ almost instantly using effortless steps? No worries, I have your back! It’s been a long time since I’ve been crafting using a cutting machine. Whether it is a personalized project, gifts, shirts, or a coffee mug, I have made almost everything. Since I dove into crafting, I have been determined to make crafting a piece of cake for everyone.
Today, after making thousands of unique projects, I have started my own venture selling personalized shirts. I made many shirts by hand using an advanced cutting machine. Yes, you heard that right! This machine can do so much more than you think. Moreover, you can easily embark on your business journey. All you need to know is how to make things using the machine.
In this post, I have discussed how you can make your own shirt quickly and easily. Delve into this beginner-friendly step-by-step guide and create your first project without a hitch!
Step 1: Collecting Supplies for Your Project
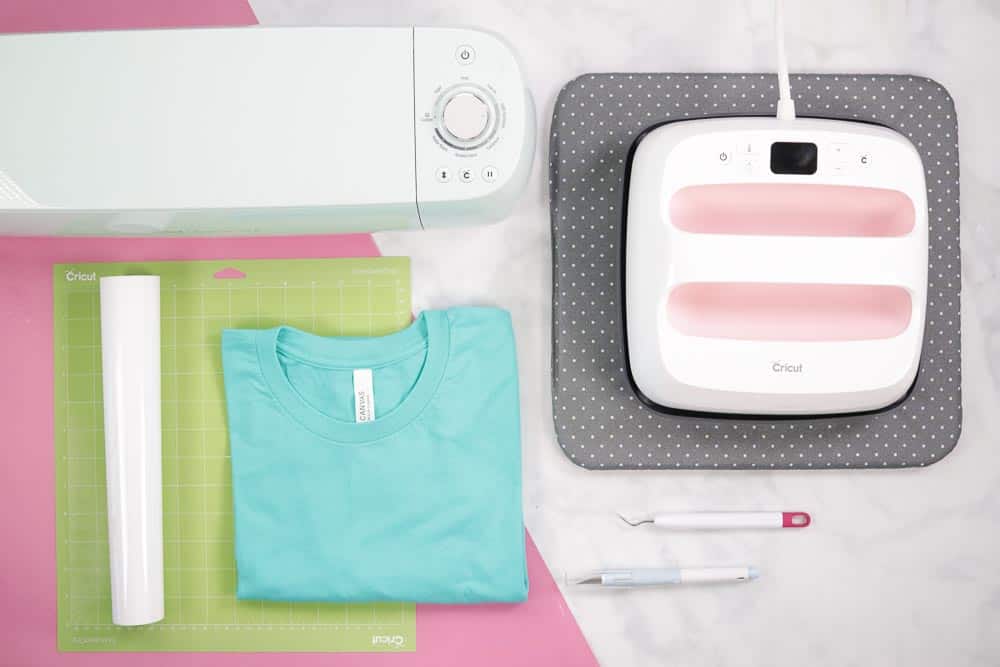
How to make shirts with Cricut using the following supplies? To learn, you first need to collect the following materials, including your cutting machine, to start making your shirts. These are the common and must-have tools and materials that you must collect before you move to the second step.
- Cutting Machine
- EasyPress Mat
- Material Trimmer
- Smart Iron-On (white)
- Shirt
- Weeding Tool
- EasyPress 2
Once you have collected all the items mentioned above, start creating your design, as explained in the second step.
Step 2: Creating a Design in Cricut Software
Open your Design Space app on your computer and start creating the design as I have explained below:
- Launch the app and click on the My Projects icon.
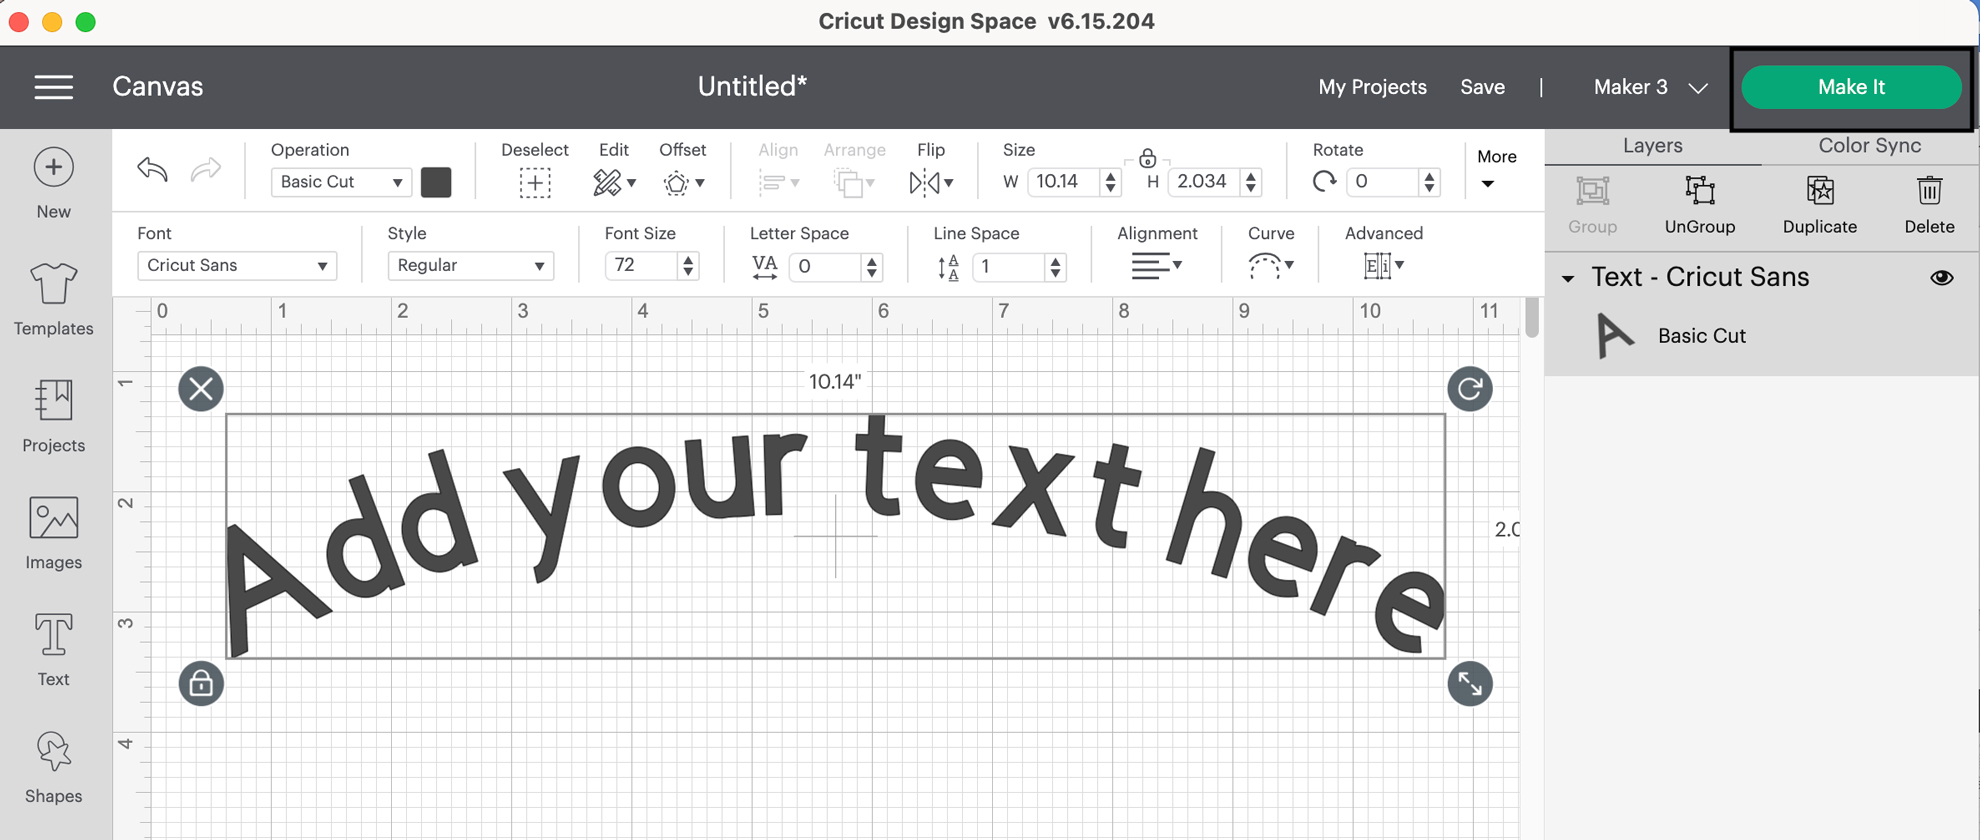
- It will open the Canvas where you are supposed to create a design.
- If you want to add text to your shirt, go to the left-hand navigation bar and select the Text option.

- Then, type anything that you would like on your T-shirt. Choose the font style and size of your choice.

- To add a font, go to the drop-down menu (font) on the screen. There, you will find hundreds of fonts.
Hurrah! You have learned how to make shirts with Cricut software, but real magic is yet to be done. You need to cut the design and place it on your shirt; that’s the final step you should finish afterward.
Step 3: Cutting a Design in Your Machine
Now that I have explained each step of creating a design on the Design Space app, it’s time to cut the material. Follow the steps below and cut your text using a cutting machine.
- Ensure your cutting machine is turned on.
- Then, click Make It in the upper right corner.
- Now, move ahead by following the prompts shown on your display.
- Don’t forget to select the Mirror option, as we use iron-on material.
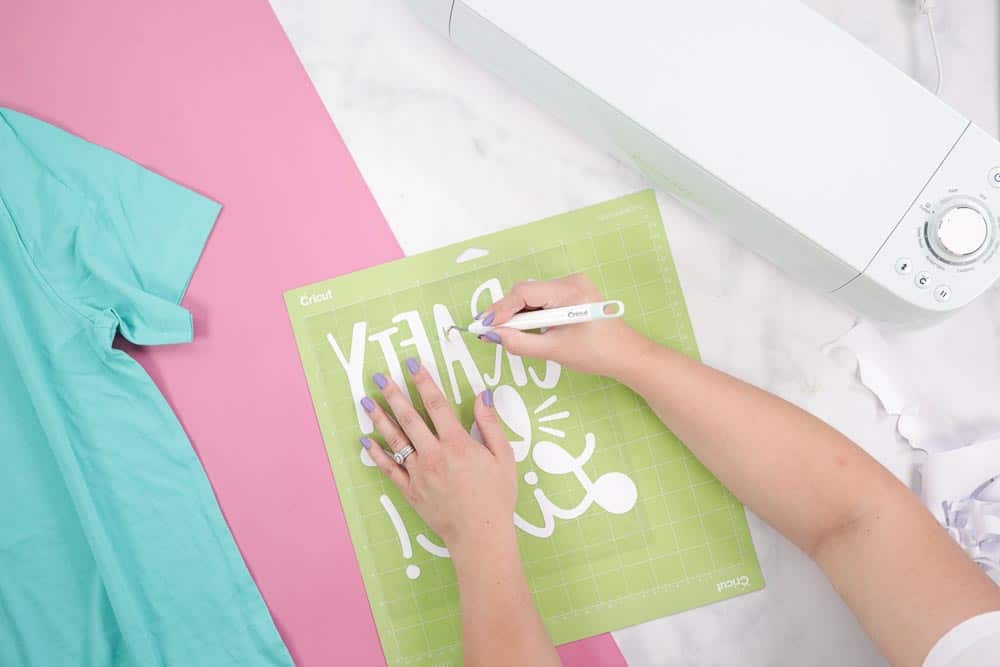
- Once the design is cut, unload the materials.
- Use the weeding tool and remove the extra iron-on material around the letters.
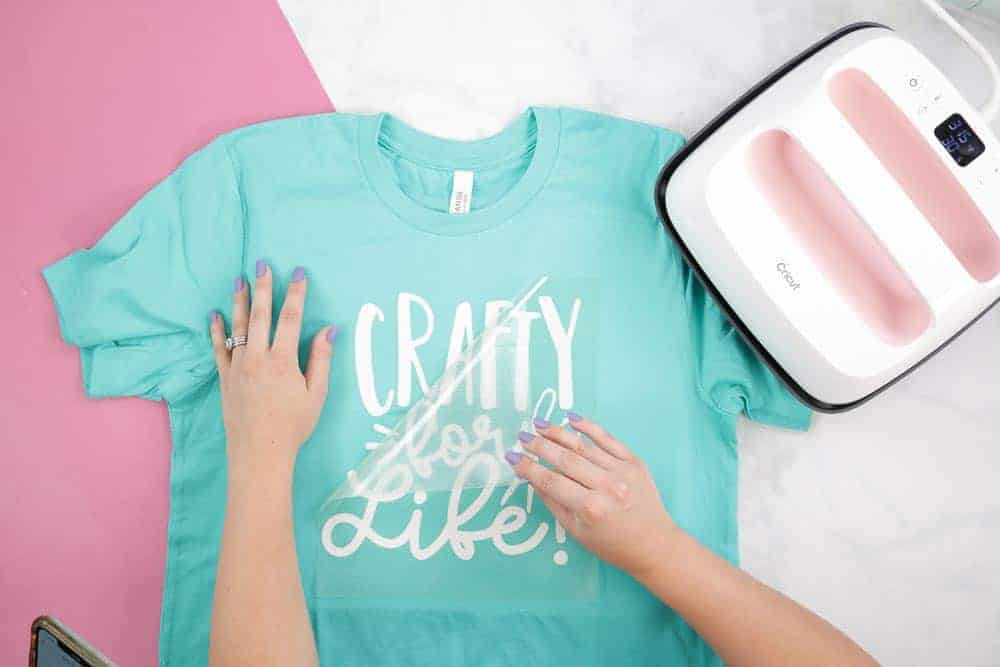
Step 4: Placing an Iron-on Design on Shirt
Finally, It’s time for you to learn ‘how to make T-shirts with Cricut‘. I have explained the steps below to place the iron-on on a shirt.
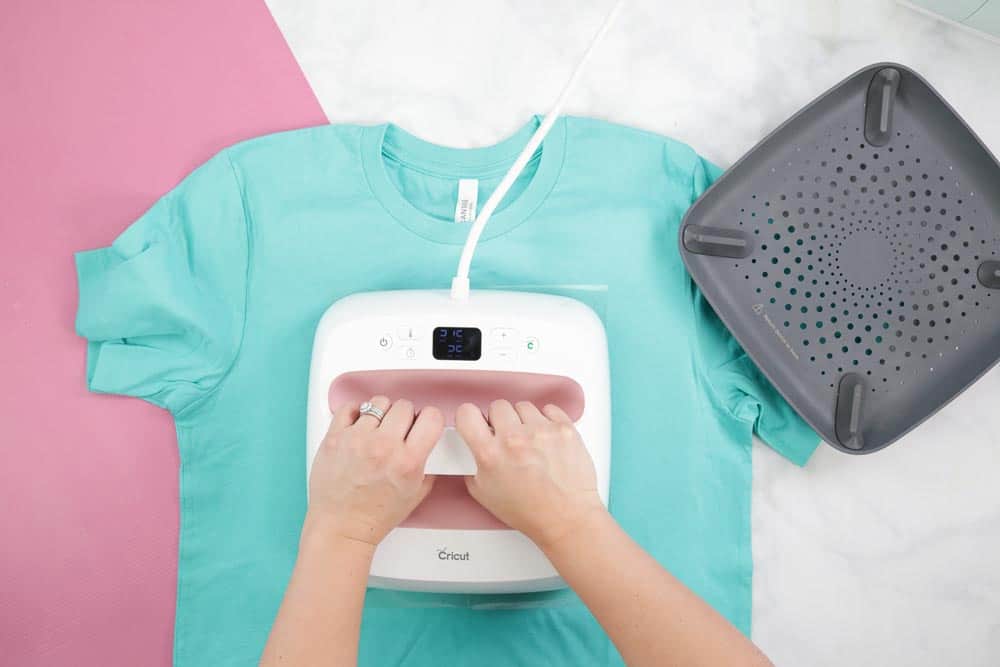
- Lay your shirt on a flat surface.
- Turn on the heat press and set the temperature according to your HTV instructions.
- After that, you have to preheat your shirt with your heat press.

- Then, you will need to position your design on the shirt.
- Try to keep the design in the center and straight.
- Afterward, press the heat press over the design and apply it to the recommended time.
- After some time, your heat press will beep.
- Lift the carrier sheet gently and let the shirt cool.
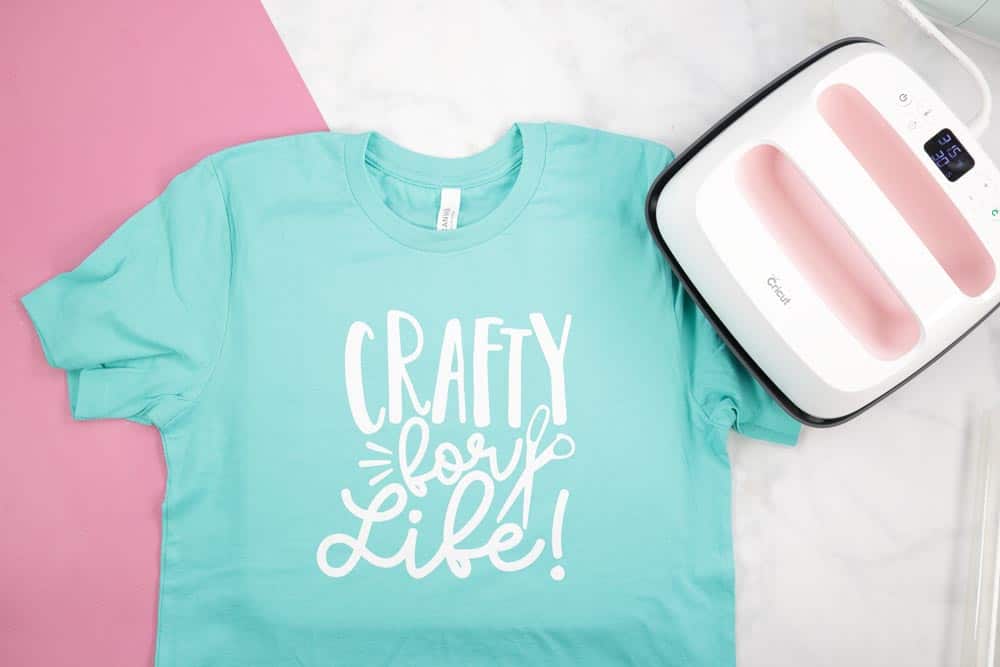
Whoaa!! You did it!😍 Here’s what the final works look like!
Conclusion
Making shirts with Cricut is fun, yet it may seem daunting initially. I wrote this simple blog on how to make shirts with Cricut. Before making a shirt, you need to have some supplies such as a cutting machine, iron-on material, weeding tools, etc, which I have already mentioned in the first step. Afterward, you need to create a design on software and transfer it to your cutting machine. Cut the design and use your heat press machine to adhere the design to your shirt permanently. That’s all you need to do. Good luck!
Frequently Asked Questions (FAQs)
What are the best materials for making shirts with Cricut?
If you want to make a shirt, bag, hat, etc, you should try iron-on. This is the perfect material for making designs on shirts or other materials. The result will blow your mind, and it will last longer than expected. Also, when you are making a shirt, make sure you use a pre-washed shirt.
What is the best fabric for Cricut iron-on?
The best fabrics to which iron-on adheres really well are cotton, poly/cotton blends, polyester, denim, and canvas. All these materials are perfectly suitable for iron-on, also known as heat transfer vinyl. The HTV is a unique material and is mainly used to print on different types of fabrics and garments.
Can I use a regular iron for my heat transfer project?
Yes, you can use a regular iron if you are making a project using a machine. However, you have to ensure that you are using the cotton/linen settings, which are the highest temperature settings on the iron. Using this iron, preheat the base material for at least 10-15 seconds and then place your weeded design.